7 tips from 7 days of game dev for 7 Day Roguelike
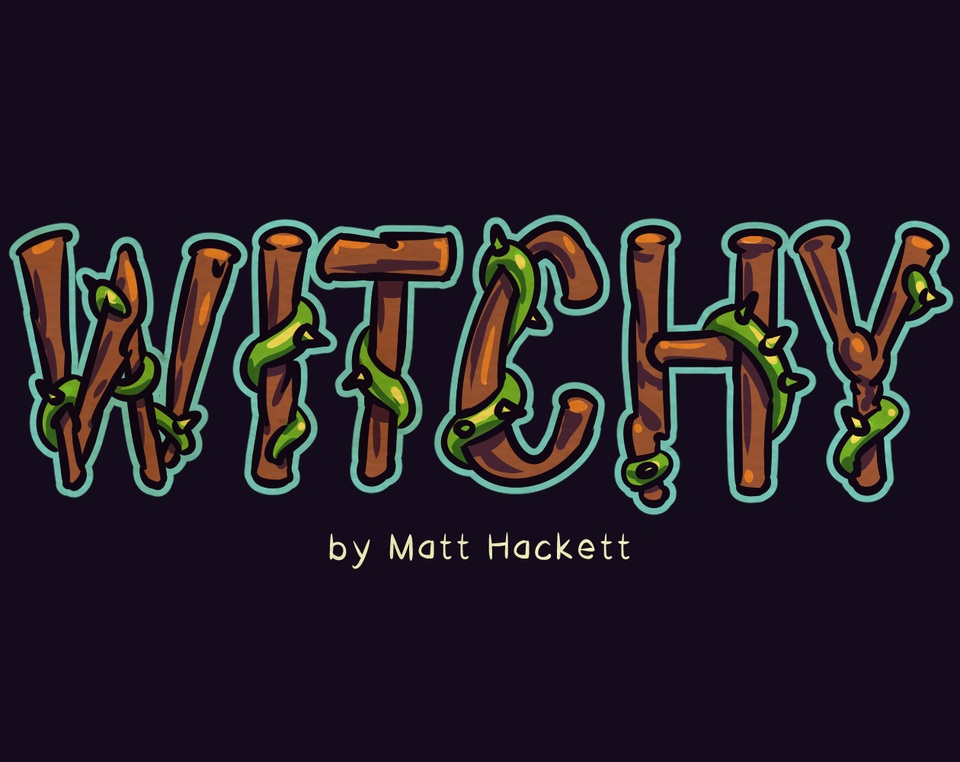
In one week I made a roguelike for 7 Day Roguelike, a yearly game jam. My entry is called Witchy and you can play it right now on Mac or Windows.
I worked for each of the 7 days of the jam, documenting as I went, and have extracted one useful tip from each day that I think could help you make games.
Let's dive in!
(Day 0: Preparation)
7DRL lets you use prior code, assets, and engines, so I decided to use a roguelike prototype I had abandoned years ago. I popped open this project a few times over the last couple years, only to find it broken. Among the many bugs was: the procedural generator placed a solid blocker directly in front of every level's starting area, making it completely unplayable.
I wanted to use a newer, better organized (and not broken) codebase, but decided to use this one since it already had a solid roguelike base. In preparation for the jam, I spent a few hours fixing the major bugs and improving the content pipeline so I could create new entities more easily.
Had I not prepared ahead of time, I would have lost at least a day or two of actual game creation time.
Think about what tool(s) you'll use and spend some time with them before starting on the game. Be ready to make the game itself. Try to reach that mise en place sweet spot.
Day 1: Content
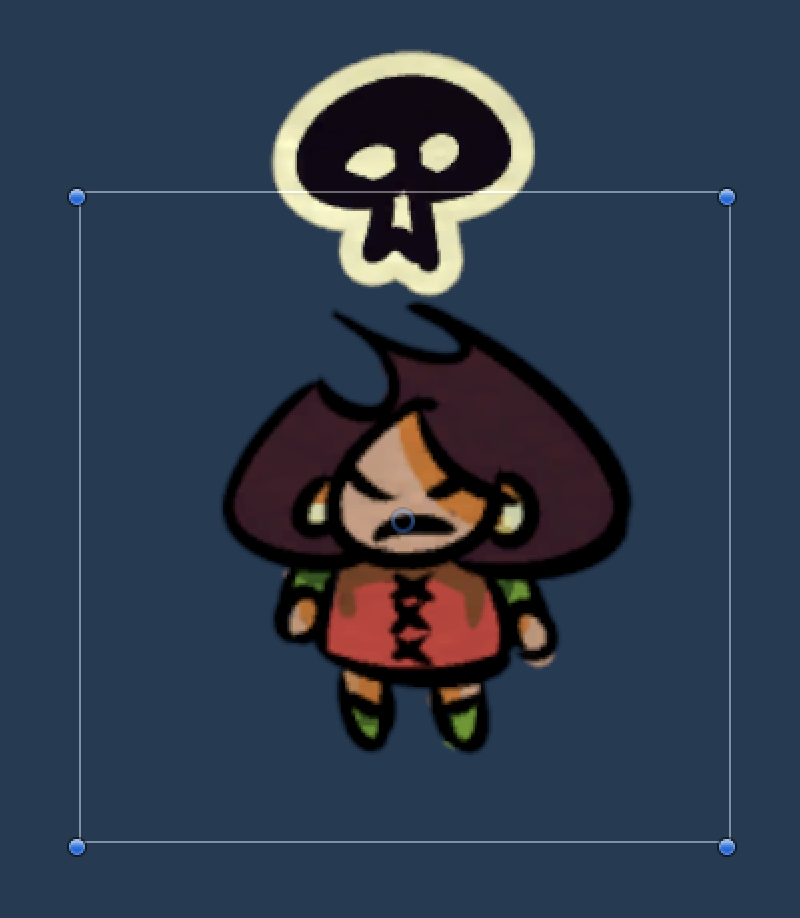
When I started the jam, I dove directly into the stuff I was most eager to work on. The old prototype I used featured villagers that could get angry at you, which caused them to hunt you down and kill you. I'd always thought the system would be better if players knew when villagers were angry, so I worked on that first.

This was an itch that felt great to scratch, which gave me the energy to crank out more stuff, including:
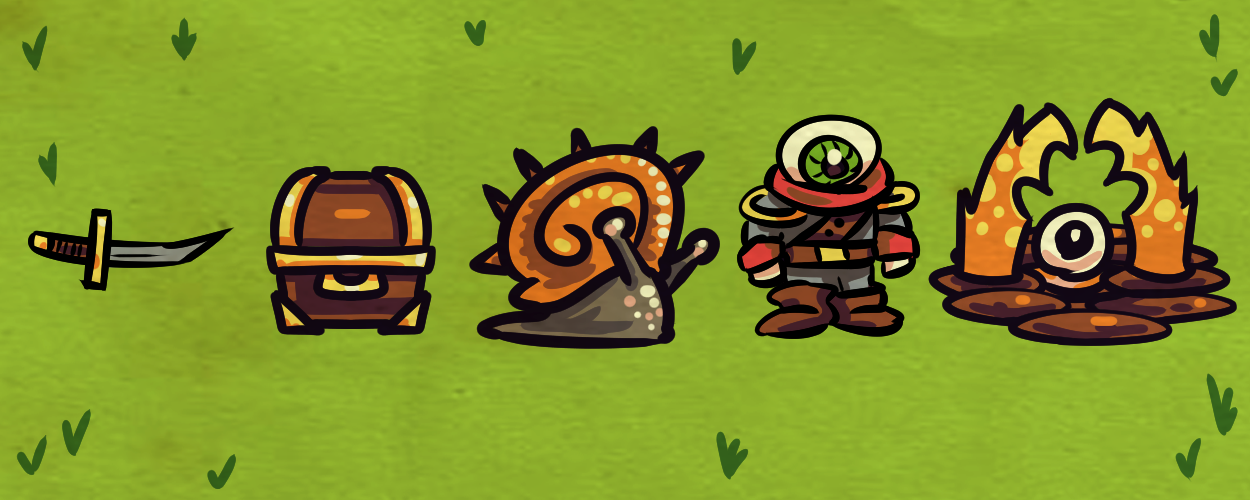
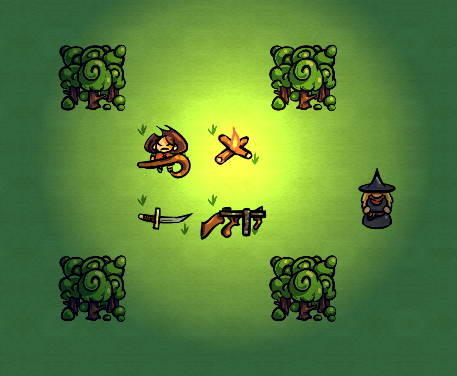
- Sword: slashes anything in front of you.
- Chest: contains a random powerful item.
- Snail: slowly lurches back and forth, killing anything it touches.
- Witch Hunter: aggressively hunts down the player.
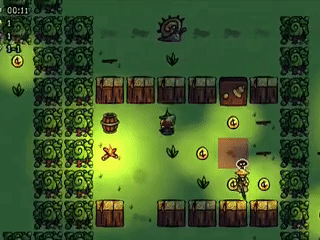
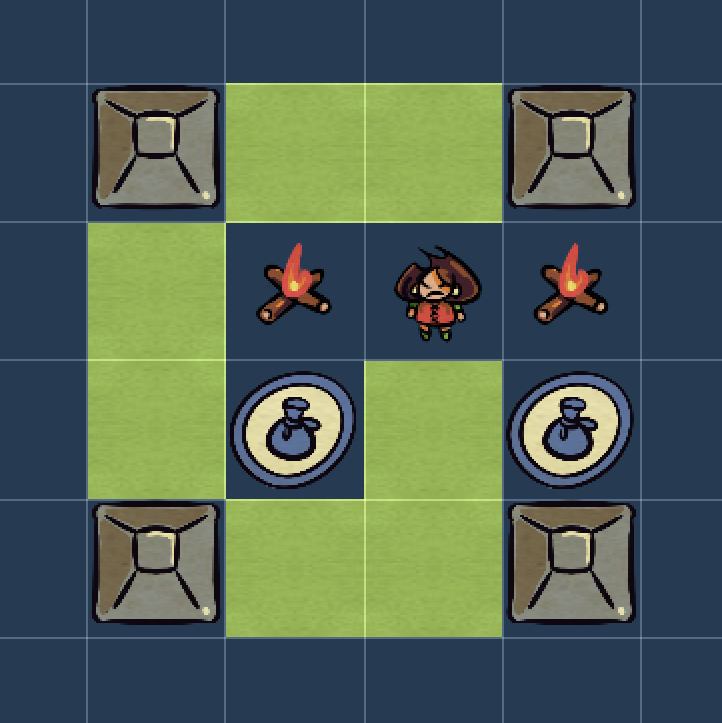
- Ant Lion: eats players who linger over their nest, as seen below:
I don't always like what I make, so I'm happy to report that I love some of these initial entities I added, especially the Ant Lion. That love made me want to keep working on the game.
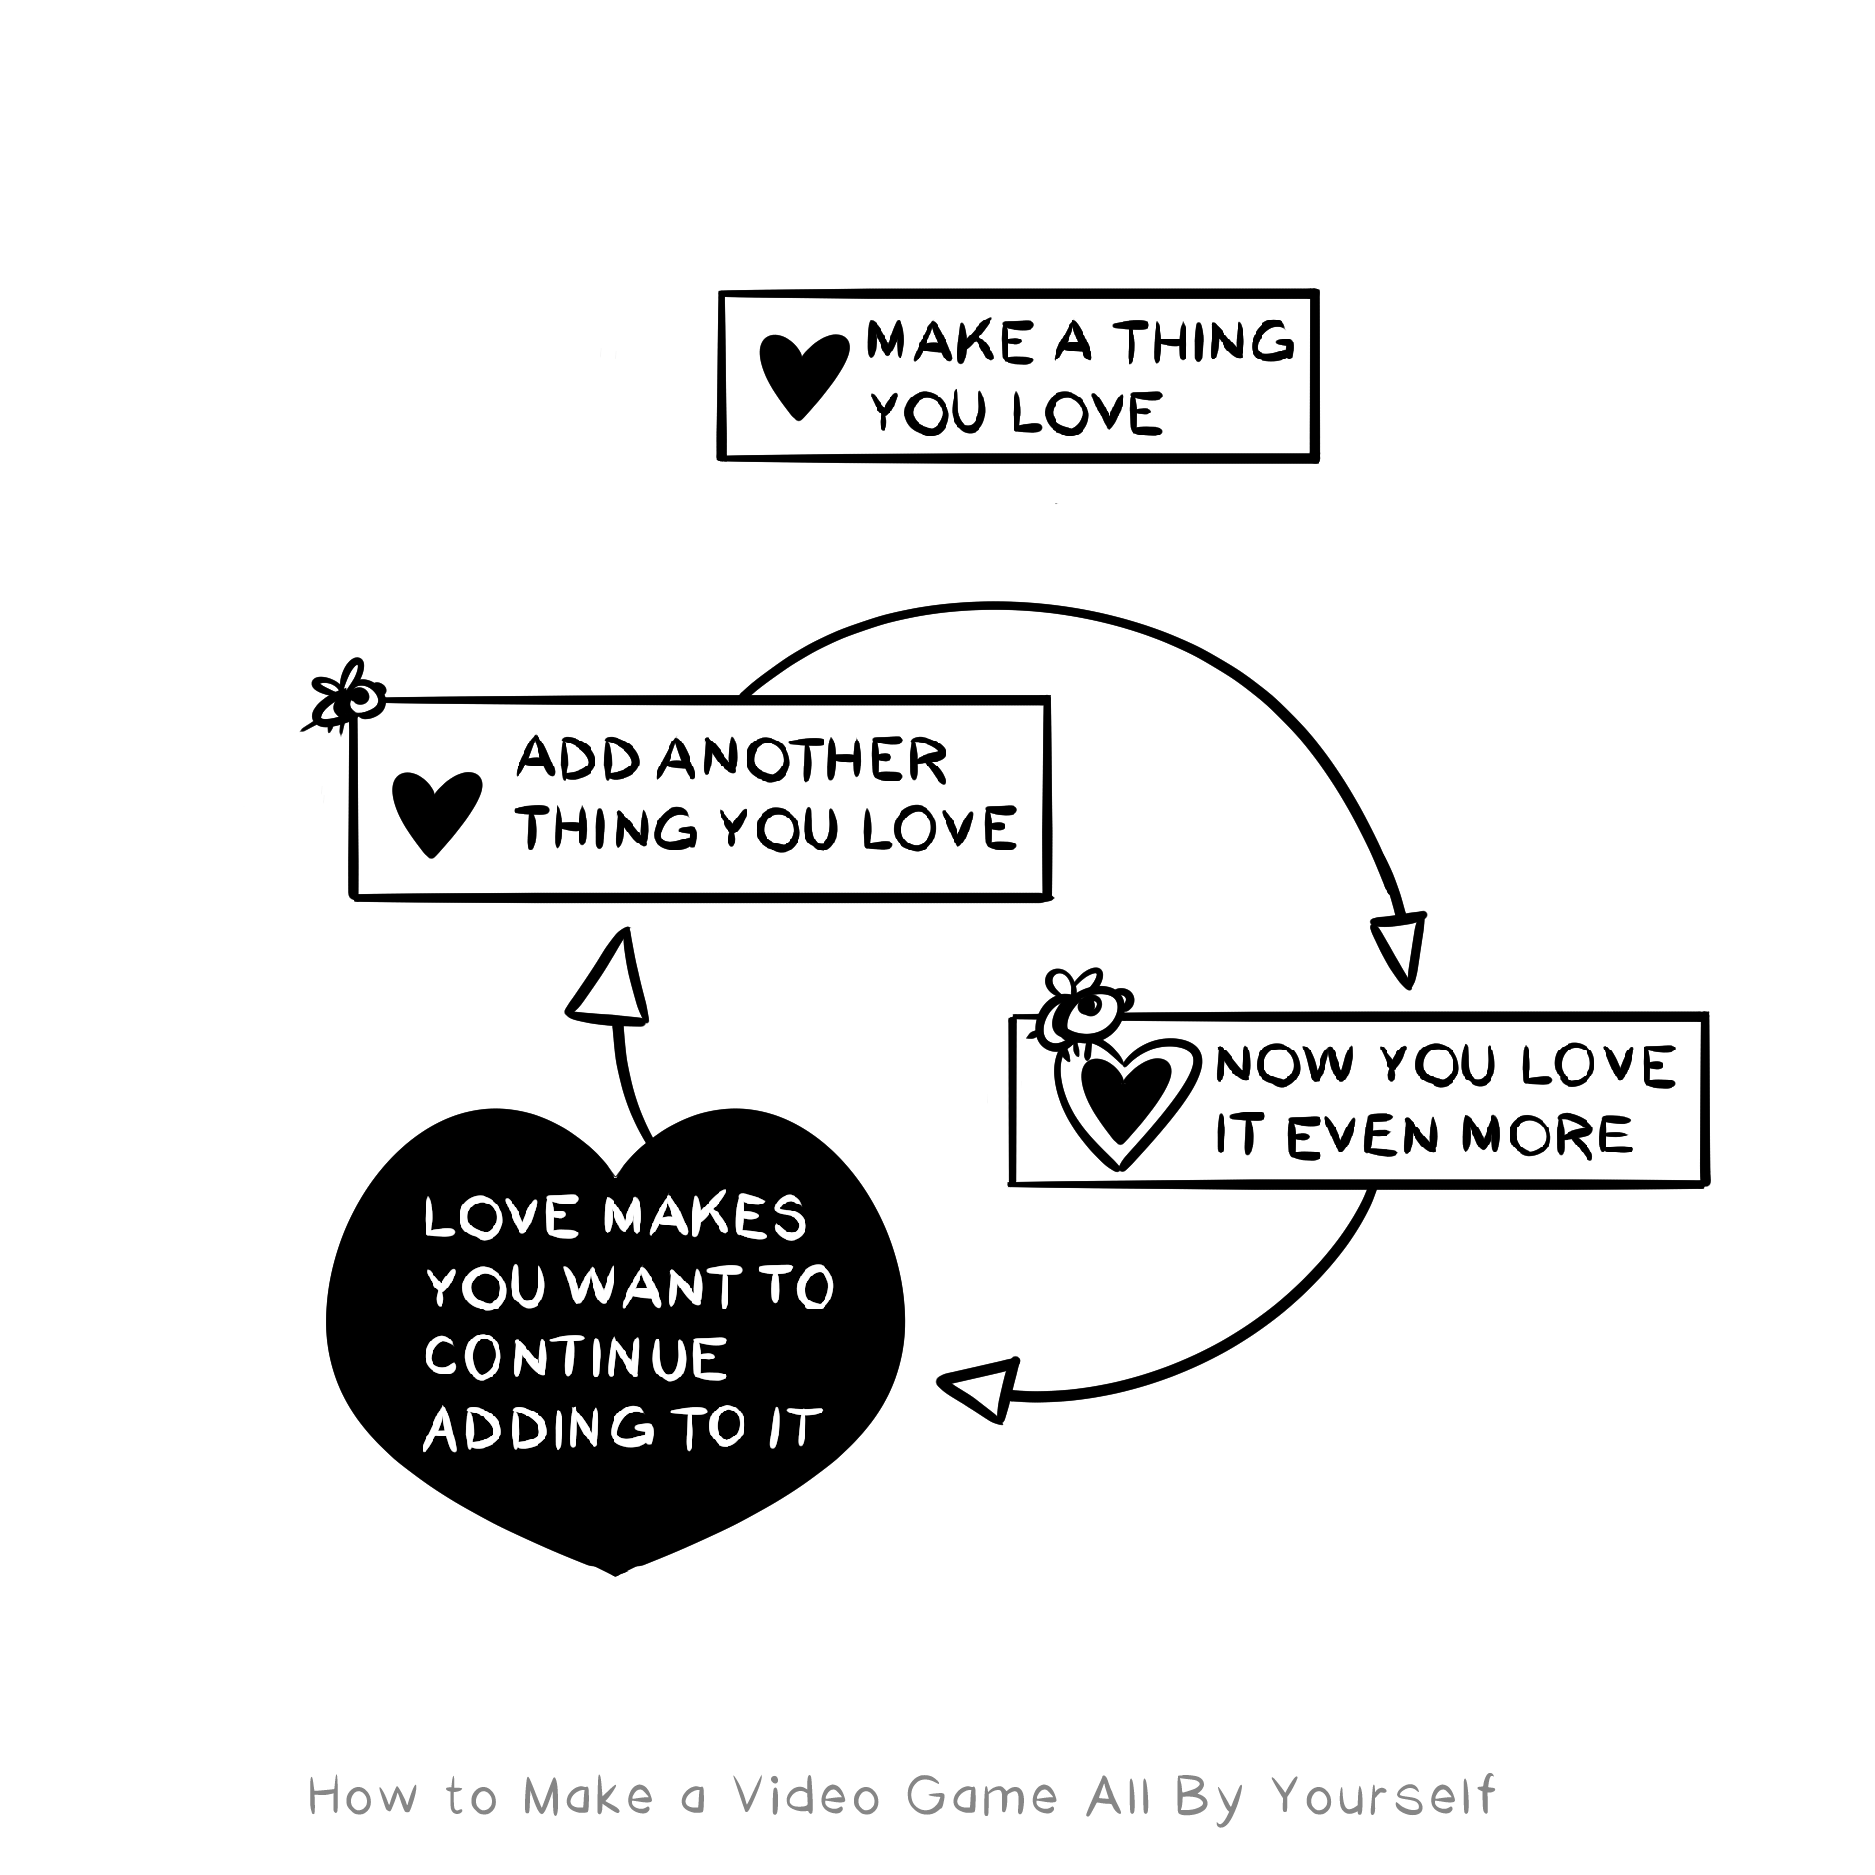
Get that momentum going with some things that you find enjoyable and are eager to do. This momentum helps you finish the hard tasks later.
Day 2: Tool Sharpening
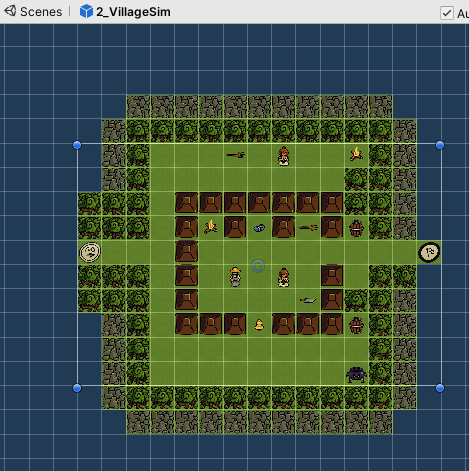
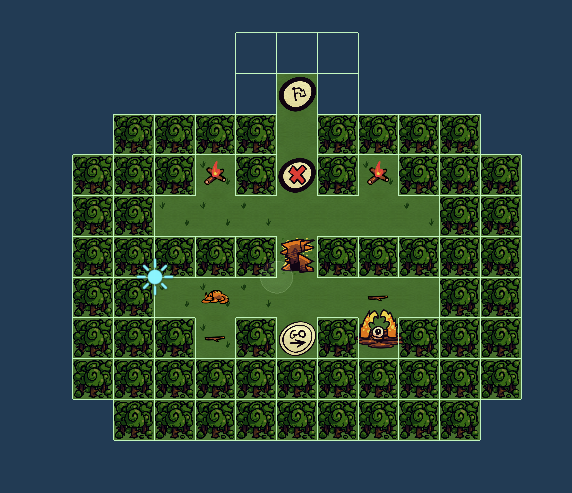
On the second day I felt the dullness of my tools. I had fixed some major bugs and sharpened my tools enough to be productive, but I wanted to start working on the procedural generator which was clunky to use.
Specifically, designing an individual room was a huge pain because my procedural generator would randomize where it appeared. When testing a new room, I didn't know where on the large map it would appear, or if it would appear at all!
When you're working on something but you can't "put it on your table" then it's hard to work on it. Your work should be right in front of you and easily accessible.
So I hacked in an entry point that allowed me to generate whatever room I wanted. It was so tempting to redo all of this, to use a newer codebase. But instead I just smoothed out some of the tools and made it tolerable to work with.
Making and sharpening tools is an inevitable part of game development, but sometimes you've just gotta chop away with whatever tool's in front of you. Push forward.
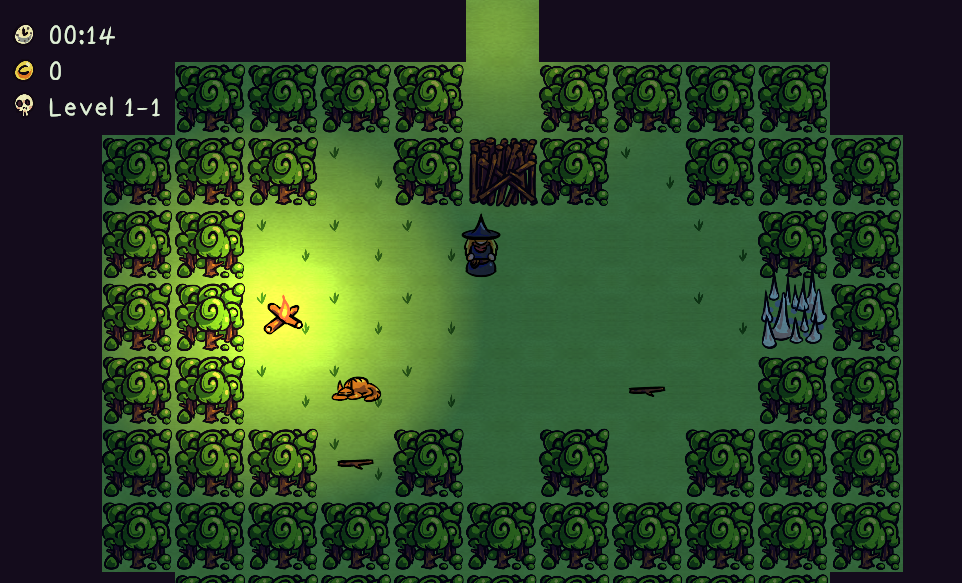
Day 3: Progression
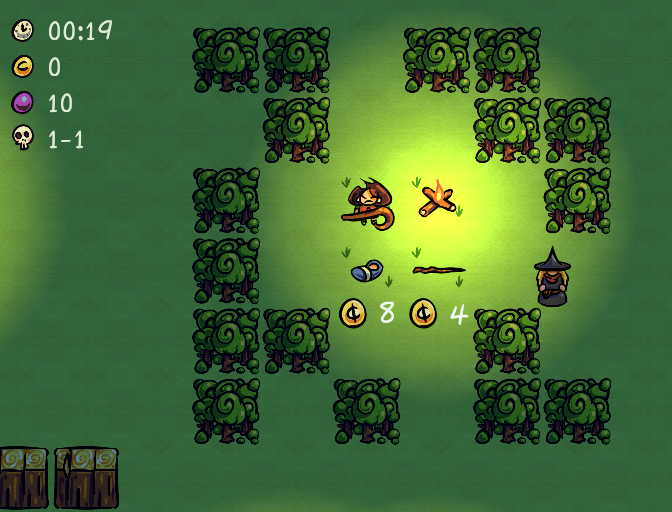
Not much happened on day 3. Literally all I did was add "Level 1-1" text in the corner.
BUT! It did actually function:
- The text "Level 1-1" is backed up by game data (not just placeholder text).
- It increments (e.g. as you finish levels, it changes to "Level 1-2" etc.).
- It even shows you when you beat that high score on the Credits screen.
So it doesn't seem like much but it is a good starting point for progression.
I wanted to get more done but what can I tell you ... it was Monday. I think I felt in my bones that I should get back to "REAL" work and not this (gasp) free HOBBY GAME because I was raised by CAPITALISM.
Gotta hustle. But also: life gets in the way sometimes. You can't move mountains every day.
Some days you'll be surprised by how much you got done, and other days you'll be disappointed by how little. Accept them both together and don't resist when they happen. Go with the flow.
Day 4: Magic
On day 4 I took a step back to get a feel for the bigger picture. It was a relatively fun roguelike, but certain weapons felt too powerful and there wasn't enough incentive to explore.
The solution: add a new magic resource. You can collect magic in the form of crystal pickups and spend it when using magical items.
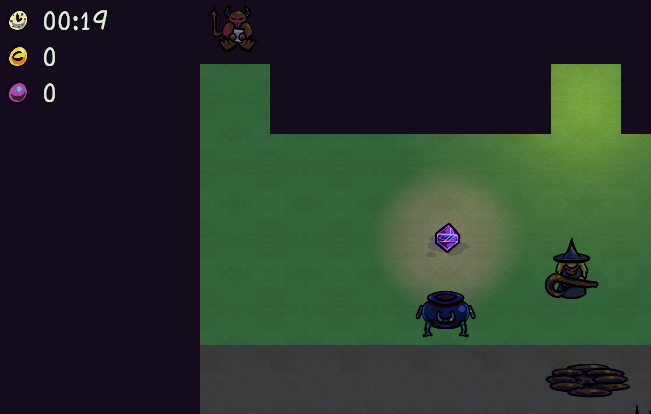
There was already a gold resource, so to add magic I started taking over the previous gold system ... until I remembered: No! Do not bulldoze. Build alongside:
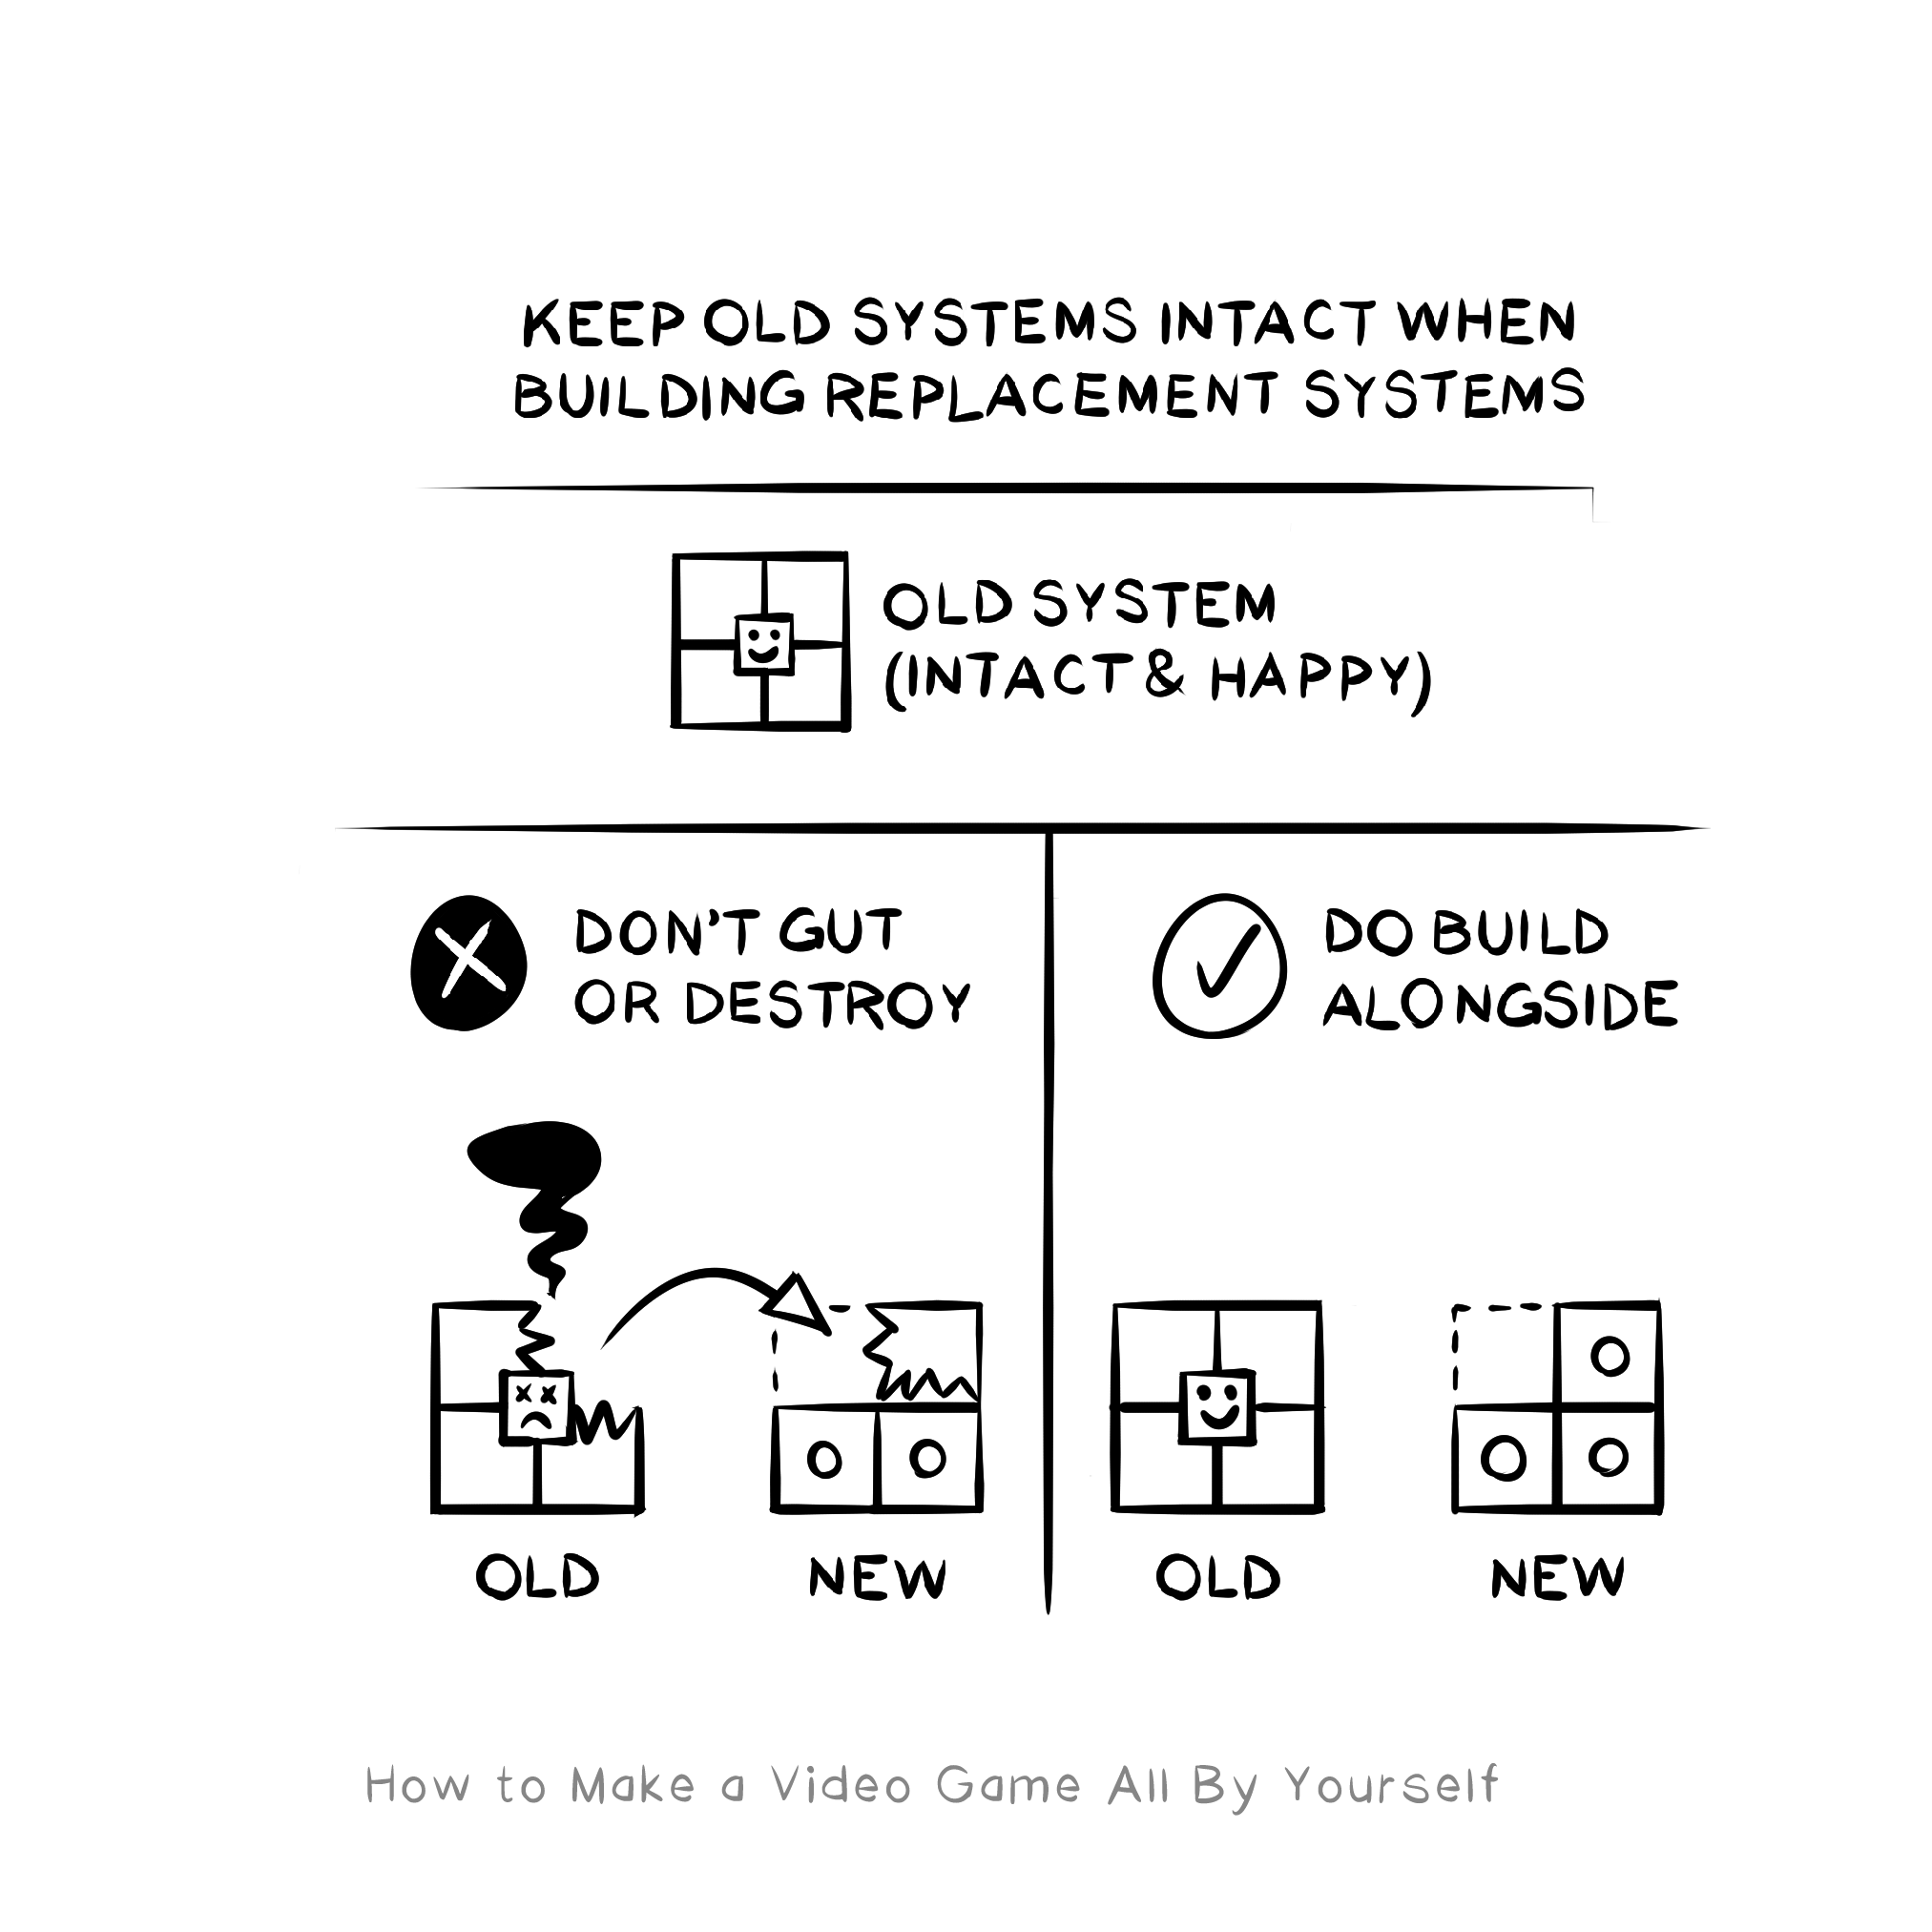
Rather than destroying the existing gold system to build a new system that could handle multiple resources like magic, I built a new magic system alongside the gold system. This was way faster and I was able to reference the gold system every step of the way.
Will it need to be more abstract sometime in the future? Nope! Because this is just game jam code.
What's cool about game jams is you get a "jam shield" that protects you from imposter syndrome or trying too hard to make it super professional.
— Matt Hackett (@richtaur) February 24, 2022
If you have forever to make a game it's hard to make excuses. If you have 2 DAYS to make a game, there's more leniency. Jam shield!
Magic makes the game deeper and was a big/easy win. Sometimes you've gotta take a step back to discover what your game needs next.
Sometimes it's hard to tell what you should be working on when you're in the thick of the game development swamp. Take a step back, try to see the whole game, and see if it changes your priorities.
Day 5: Shops
I couldn't believe it, but on day 5 I managed to implement shops, giving players the ability to spend gold on cool items.
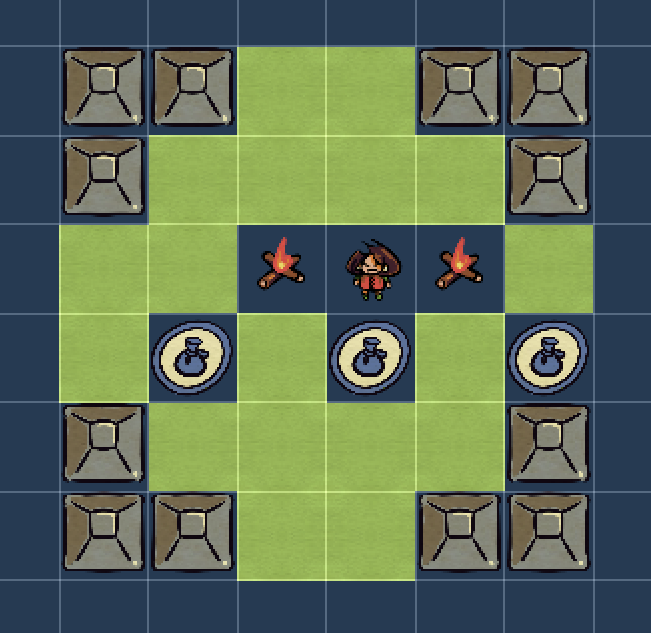
Shops in games are so easy to over-scope. Maybe they happen entirely within a complex user interface, with scrollable menus, the ability to manage quantities, or even to sell your own items. That's a lot of stuff to build.
But since Witchy shops happen within the game world, they were able to leverage all the complicated things that the game world code already handled. Showing text, managing resources, and adding/removing entities were already functional, so I just had to hook them all together.
It can feel like you're making very little progress when working on a video game, but once in a while, the many things you're working on will "snap" together. It's like attaching two big Lego structures together. Being aware of this helps keep you patient while you work.
Day 6: The beginning of the end
Instead of spending the last 2 days in a mad panic, I decided to start wrapping things up early. There are always a million things you could be fixing or adding to your game, but sometimes it's more important that it's finished than perfect.
More things I accomplished on day 6:
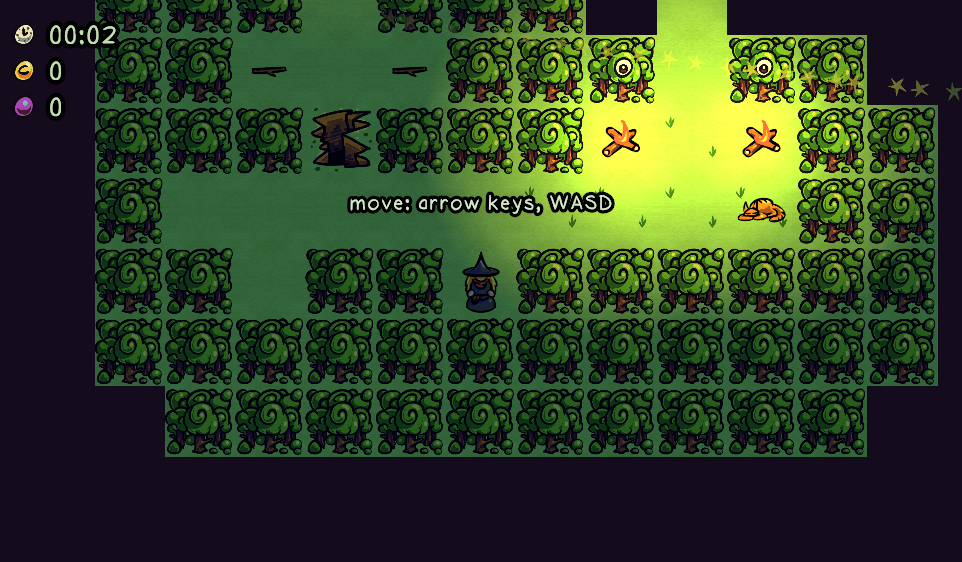
- Add a fissure that players must run over to pass (this helps teach running).
- Added an ending area with a Mother Witch and some other cool props.
- Added a final boss level.
When your deadline is looming before you, maybe it's time to stop doing new things and finish what you've started. Do it early enough that you have the time you need to make a comfortable landing.
Day 7: Ship it!
Along the lines of finishing early, on the final day I felt calm instead of pressured. There was no new content to make, nothing majorly broken, no fires to put out. This allowed me the freedom to smooth out the user experience:
- Have a nice, simple, clean title screen.
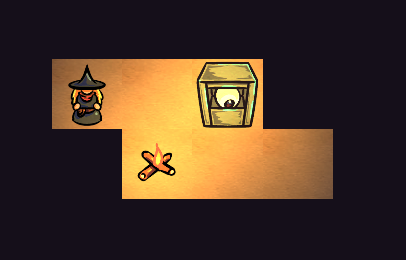
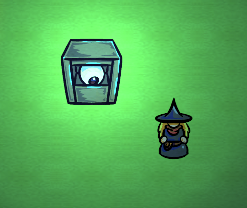
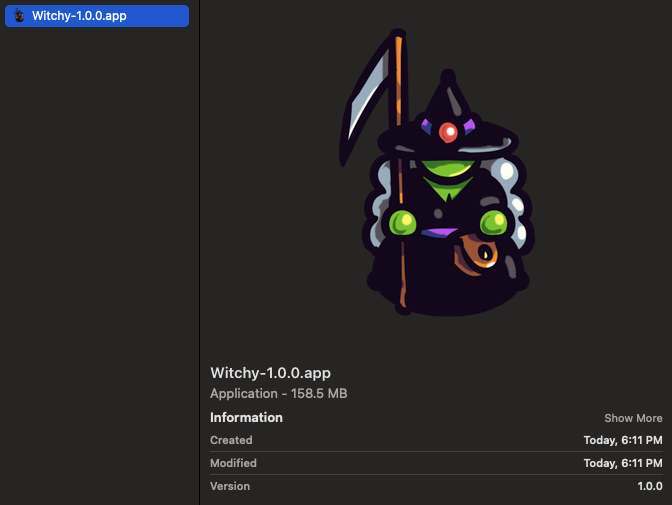
- Add an application icon for the downloadable desktop app.
- Make the starting area a little tutorial with tooltips explaining the controls.
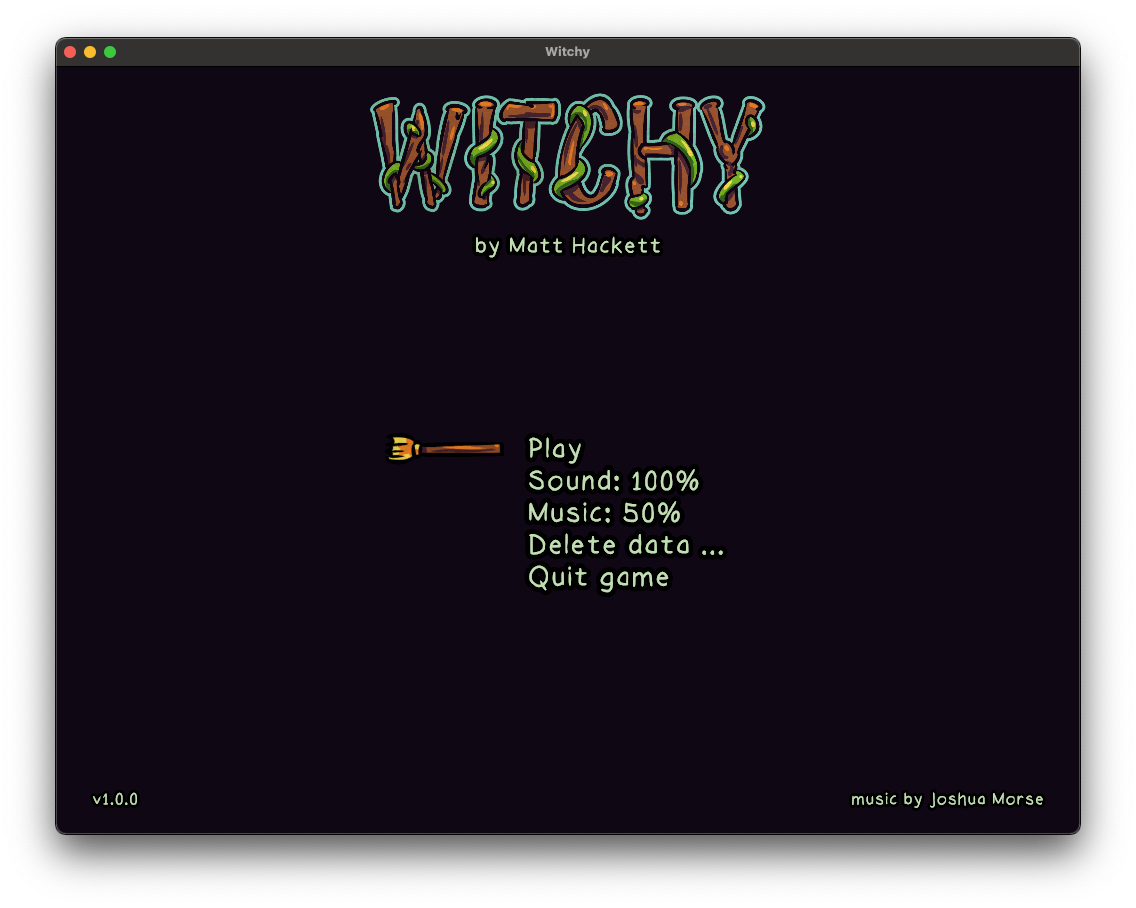
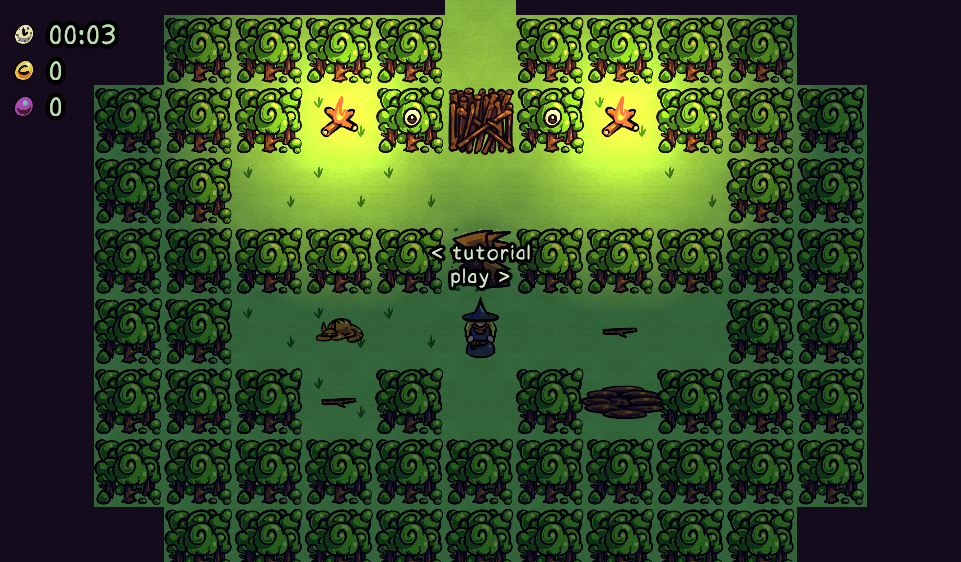
Take a moment to think about what players will experience when they play your game. Will they know what the controls are, what they should be doing, if they're doing well, how far they've come? Circle back to these questions to ensure a smooth UX.
Summary + bonus tip
Thanks for reading! You can play Witchy right here and below are all the tips in a convenient list:
- Day 1: Work on the fun and easy stuff first.
- Day 2: Use the tools in front of you.
- Day 3: Pace yourself.
- Day 4: Step back to see the big picture.
- Day 5: Things tend to all come together at once.
- Day 6: Finish early.
- Day 7: Remember the UX.
7 tips from 7 days of #gamedev for 7 Day Roguelike
— Matt Hackett (@richtaur) April 19, 2022
🧵 with fun visuals and useful lessons ⬇️ #7DRLx18 pic.twitter.com/rMcKIrHxVd
There's even a bonus tip 8 for subscribers below: